PayKKa is a third-party payment platform that provides merchants and consumers with efficient and convenient payment solutions. It offers integrated payment services for online stores, mobile apps, and other e-commerce platforms, supports multiple payment methods, and features a robust security system.
Ensure Your Prestashop Version
- PayKKa payment plugin supports Prestashop versions from 1.7.0 to 8.2.1.
- Recommended PHP version is 8.1 (suggested between 7.0 and 8.2).
- Visit Sandbox Login and click the Register button at the top right, then follow the prompts to complete account registration.
- After receiving the email, set your initial password and log in to the system.
- Real-name authentication: Click the Real-name Authentication item to complete authentication and activate your account.
- Merchant onboarding: Click the Merchant Onboarding item to complete onboarding and create a transactable merchant.
- Payment password: Click the Payment Password item to set your payment password, which is used for security verification before refunds. Please keep it safe.
- You can also contact PayKKa support to assist with the above steps.
- After logging in to Sandbox, click the top right Personal Account -> Personal Center -> Security Settings -> Transaction Key, then click Set.
- You can use the tool below to generate an RSA2048 key pair, enter the public key in "My Public Key" and Save. This key pair will be used for signing and verification during integration.
- The PayKKa public key above the transaction key can be used for signature verification in scenarios such as receiving transaction notifications and handling API responses.
- Contact support to enable the required payment methods for you.
Please keep your private key safe to prevent leakage.
- Europe:
https://mps.eu.paykka.com/ - Asia Pacific:
https://portal.paykka.com/
- Contact support to obtain the payment plugin package.
- Download from the Prestashop app marketplace.
- Download the PayKKa payment plugin from GitHub.
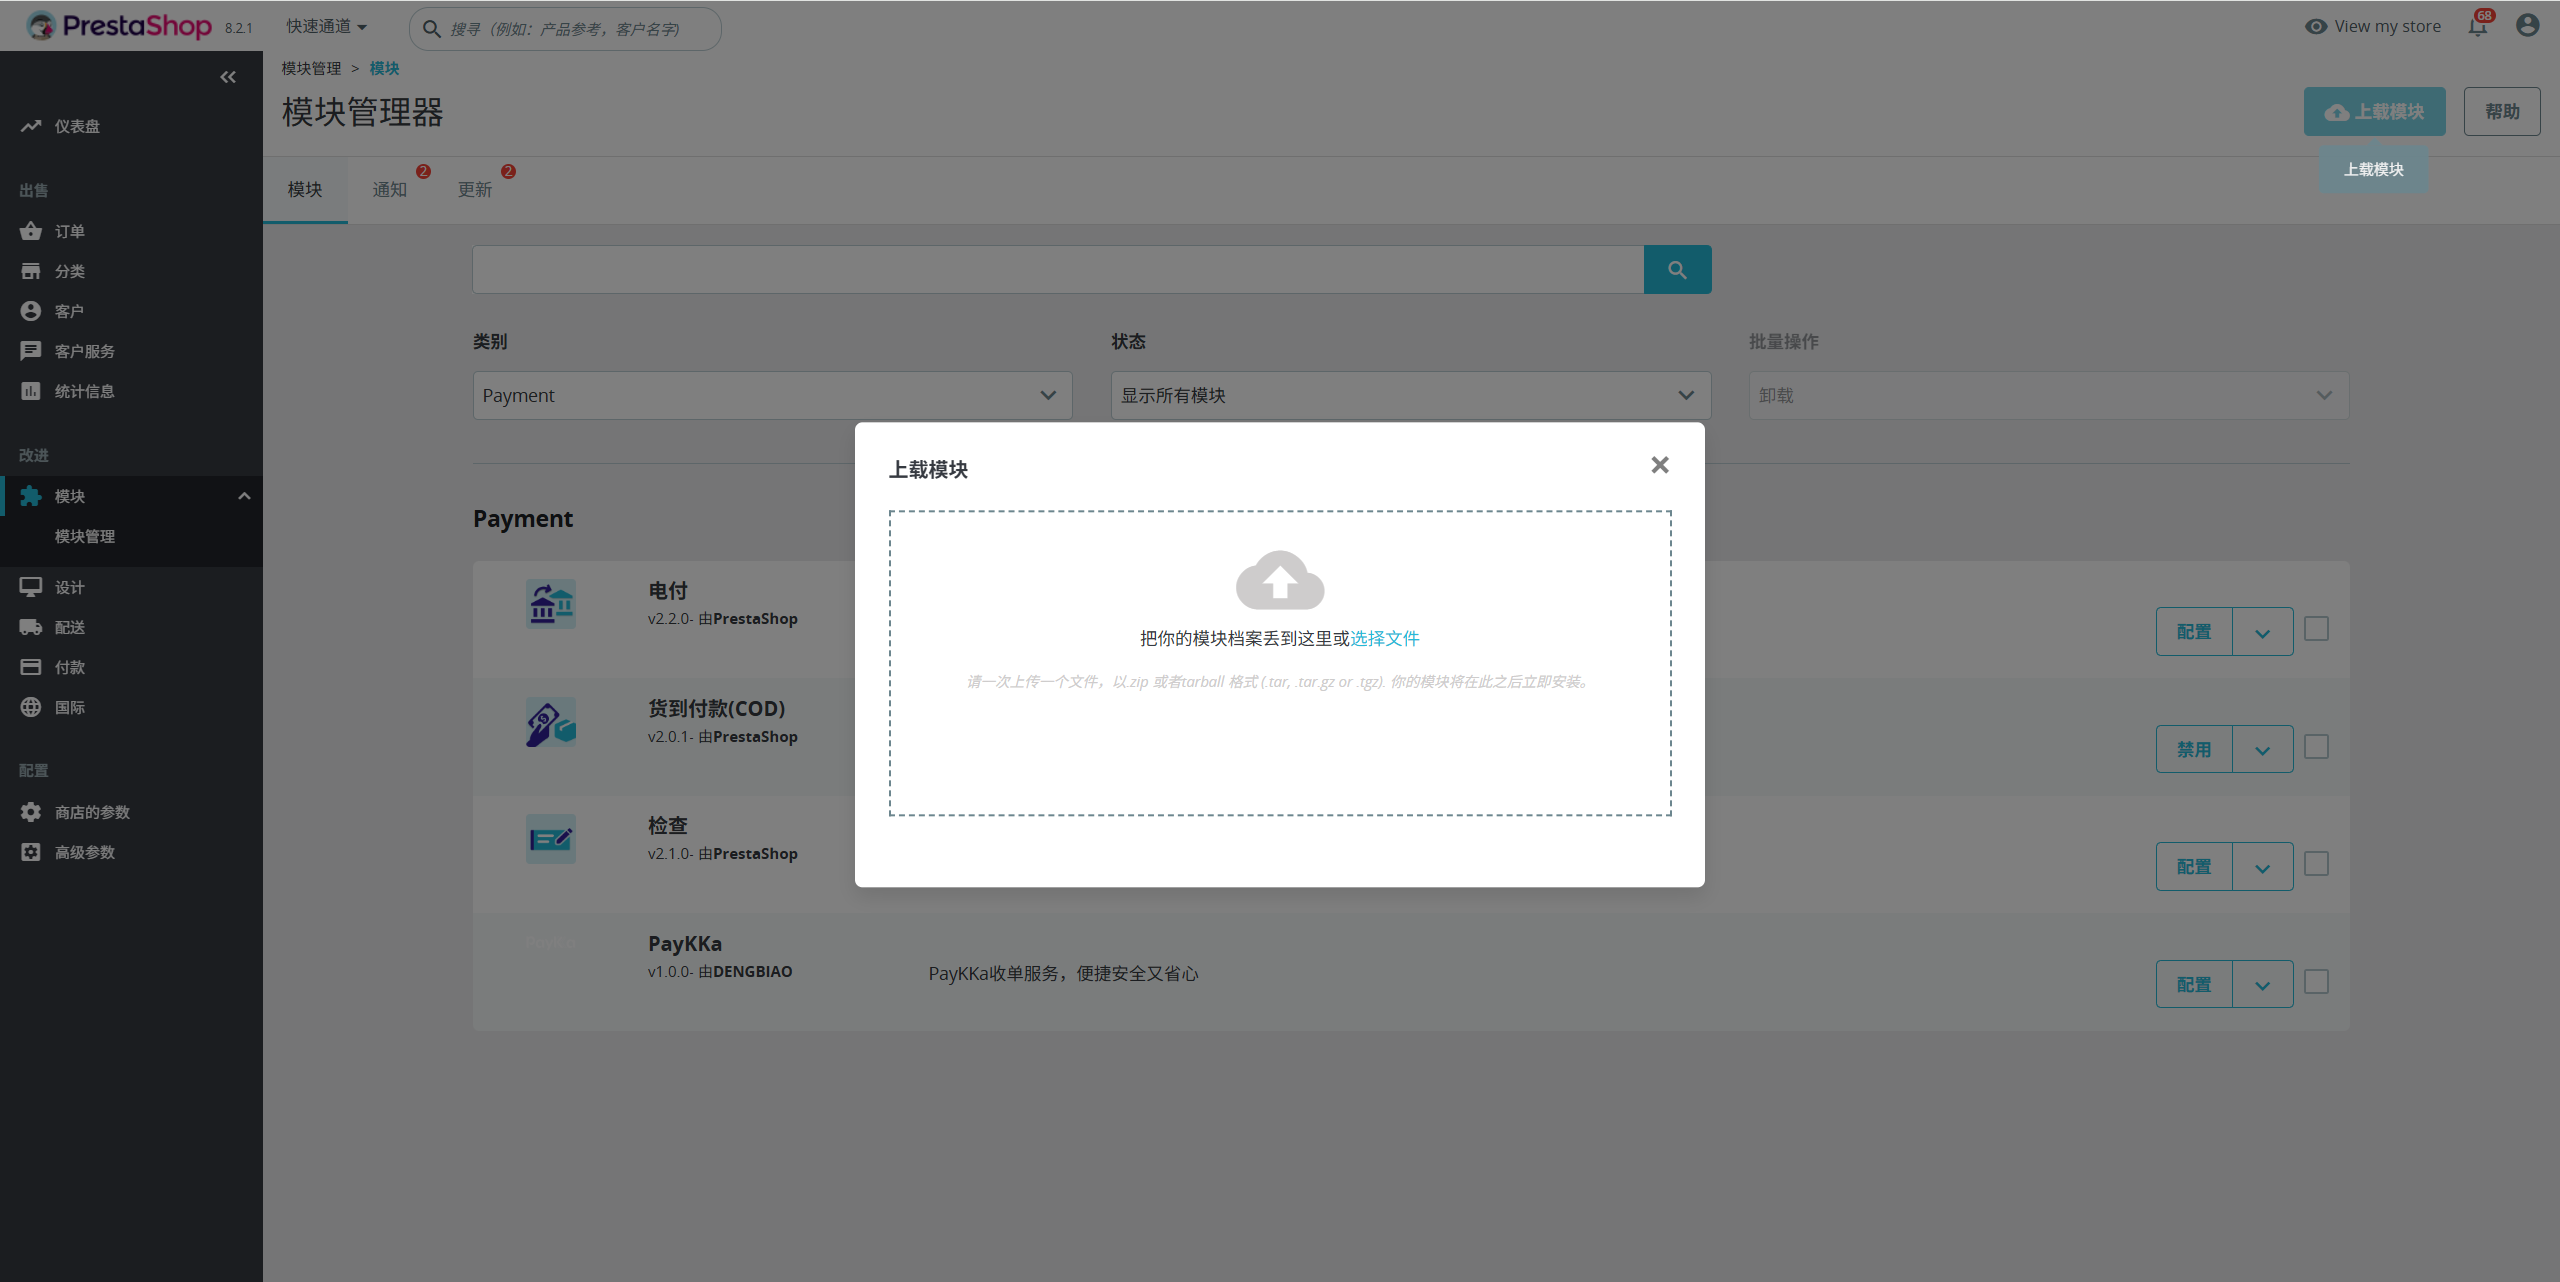
- In the Prestashop admin, go to Modules and Services and click Upload a Module.
- Upload the PayKKa payment plugin zip file.
- Click install and activate the plugin.
- In the Prestashop admin, search for PayKKa in Modules and Services, then click Install.
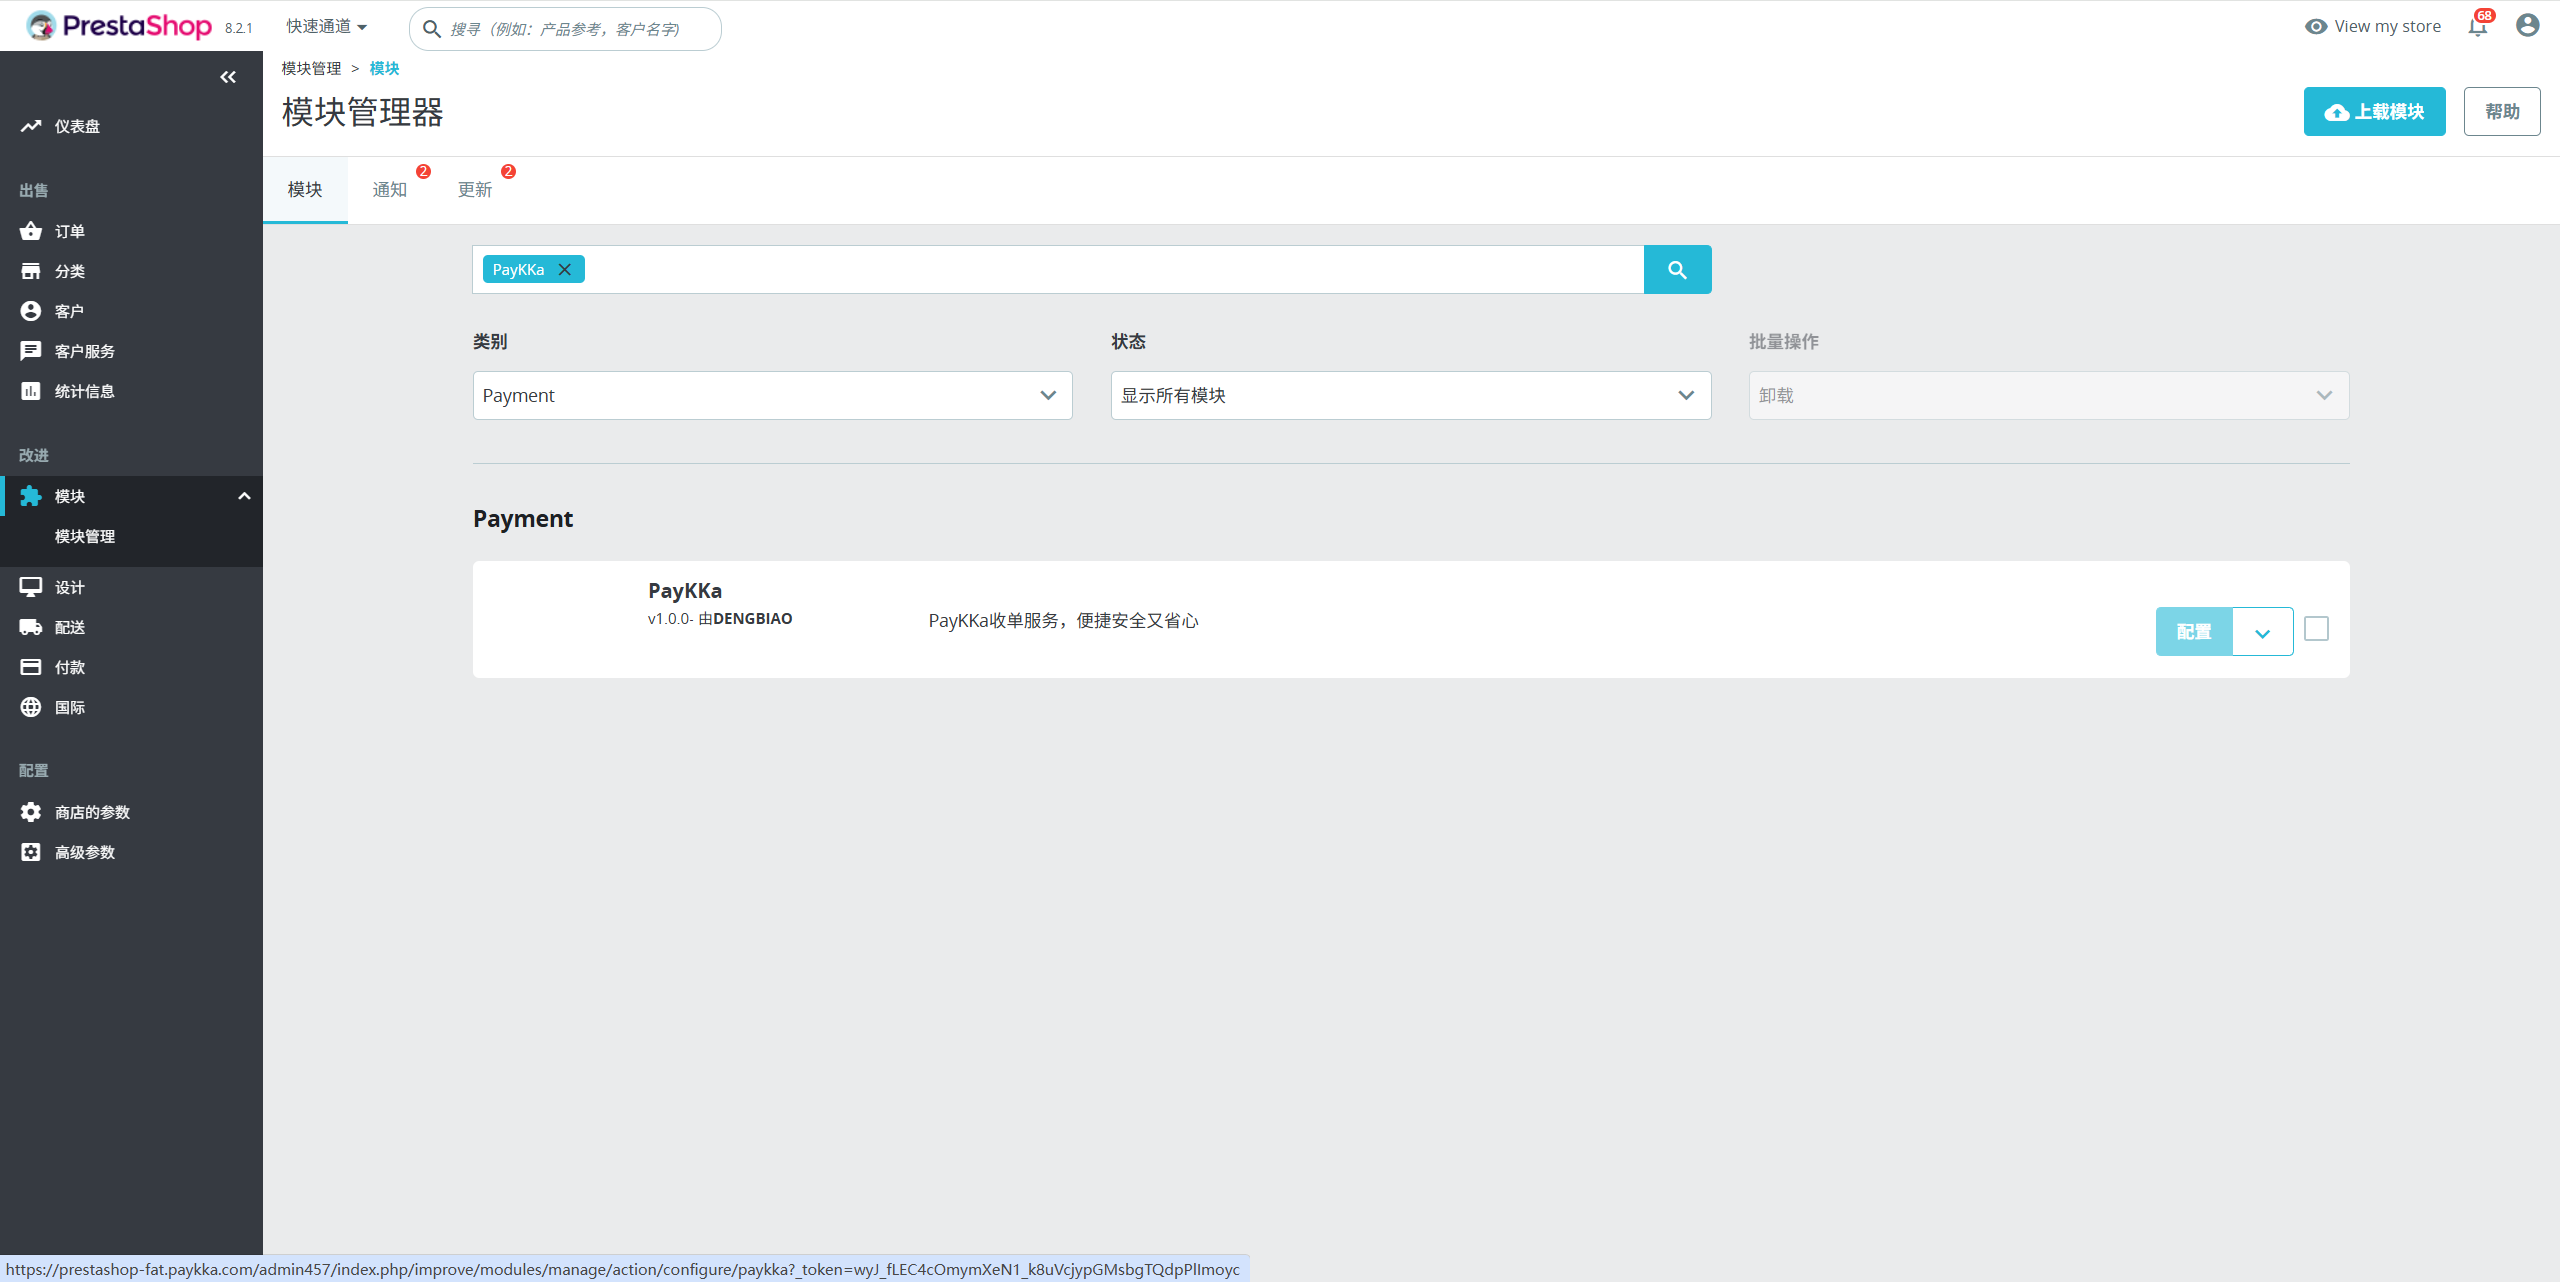
- Ensure the plugin is successfully installed. Merchants should see the PayKKa plugin in the Installed Modules list.
- PayKKa Merchant ID
- PayKKa Client key
- Merchant transaction private key
- PayKKa public key
After completing the Register PayKKa Account step, merchants can obtain the corresponding information.
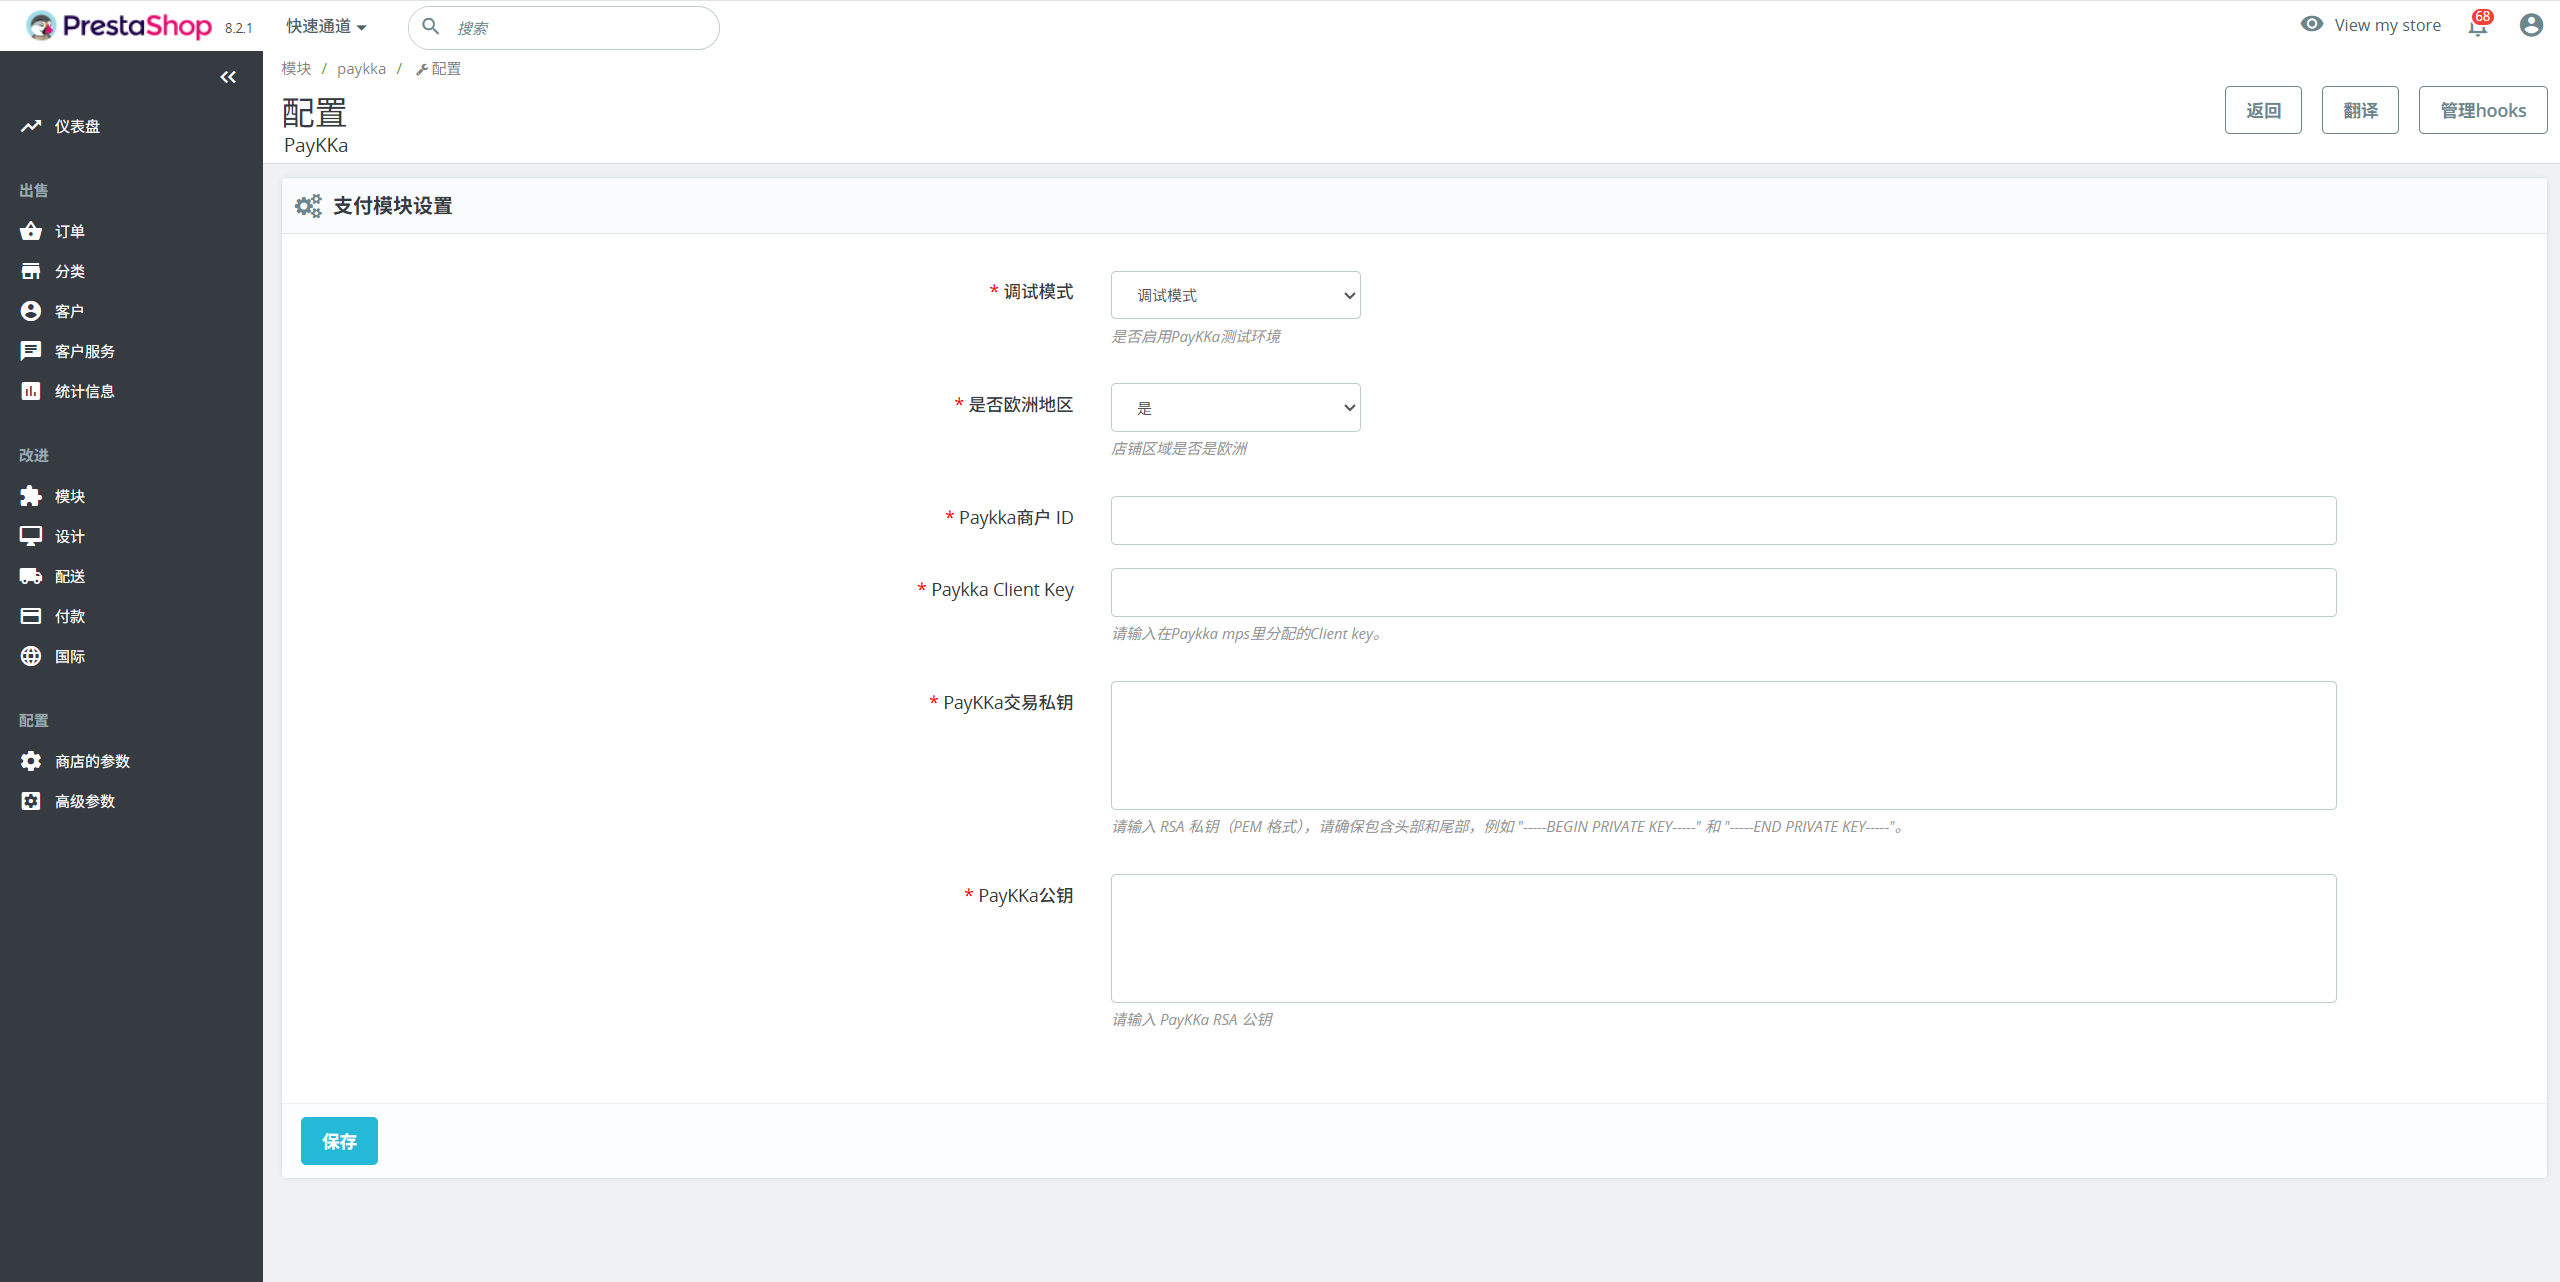
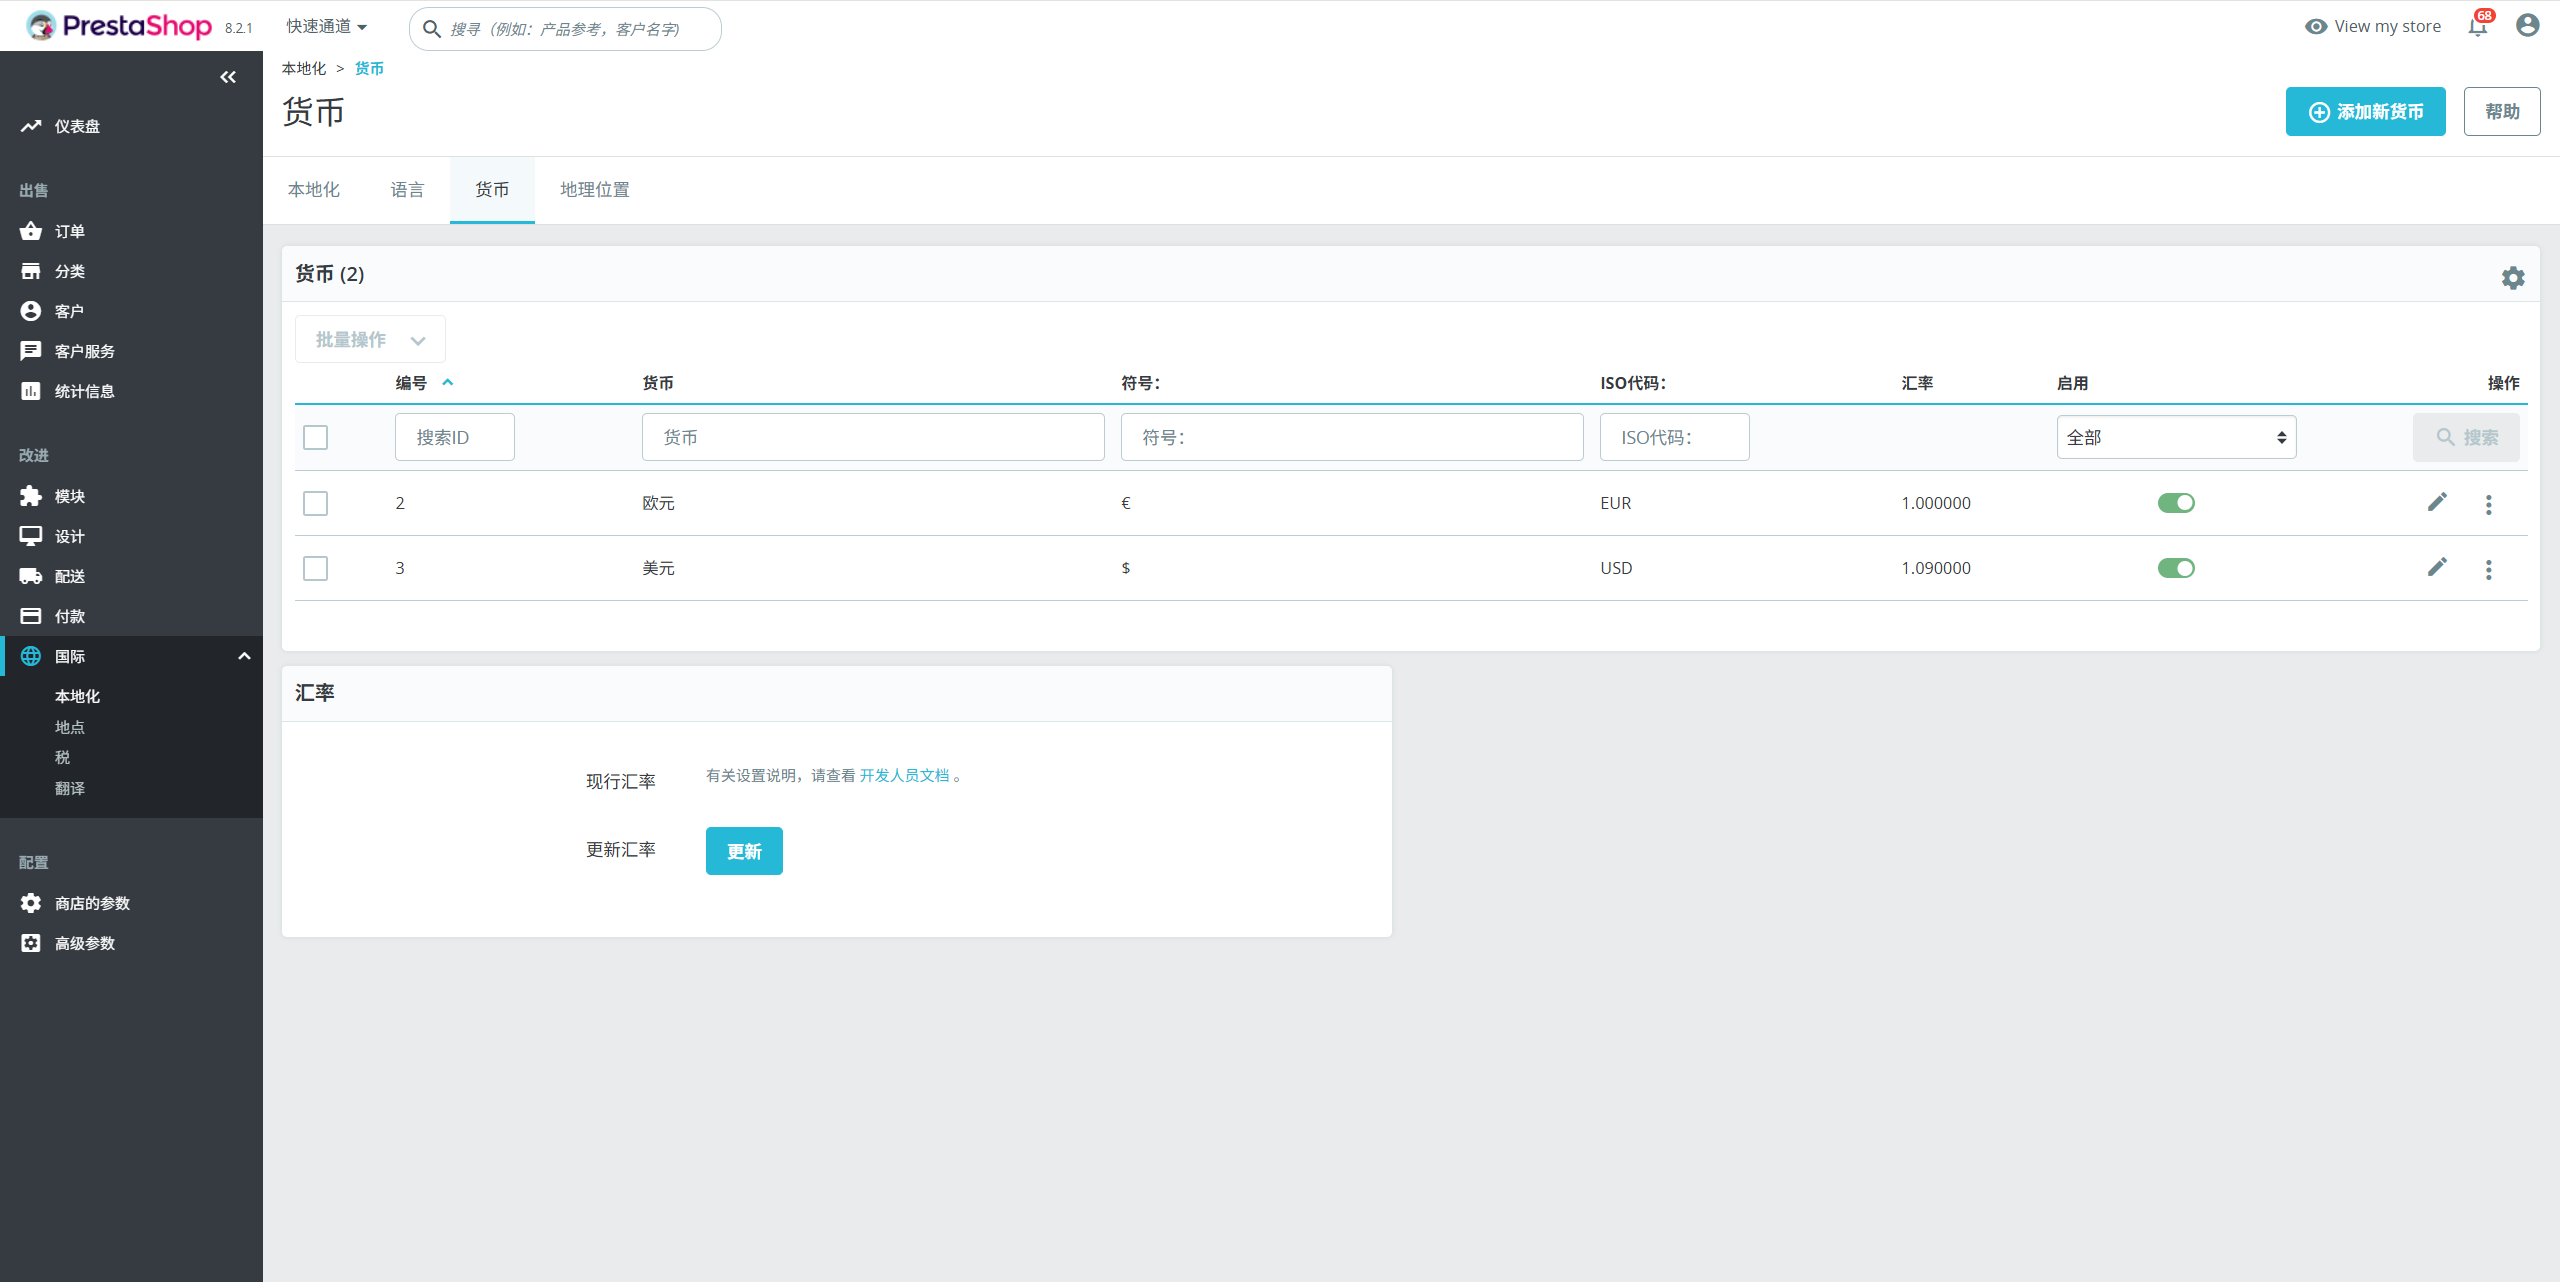
- Set the supported payment languages (e.g., English, Chinese), currencies (e.g., USD, CNY), and countries (e.g., Hong Kong, USA).
- Enable Test Mode: Enable "Test Mode" in the plugin settings for testing during development.
- Perform Payment Test: Place a test order on the store frontend, select PayKKa as the payment method, and ensure the payment process is smooth.
- Verify Payment Callback: Ensure that after payment is completed, the merchant's order status is correctly updated and the payment result is displayed properly.
- Switch to Production Mode: After completing all tests, switch the plugin to Production Mode.
- Payment Verification: Perform another payment process verification in the actual payment environment to ensure everything works properly.
- Regularly check for updates to the PayKKa plugin and upgrade as needed.
- Ensure both the system and plugin are kept up to date to avoid security risks.